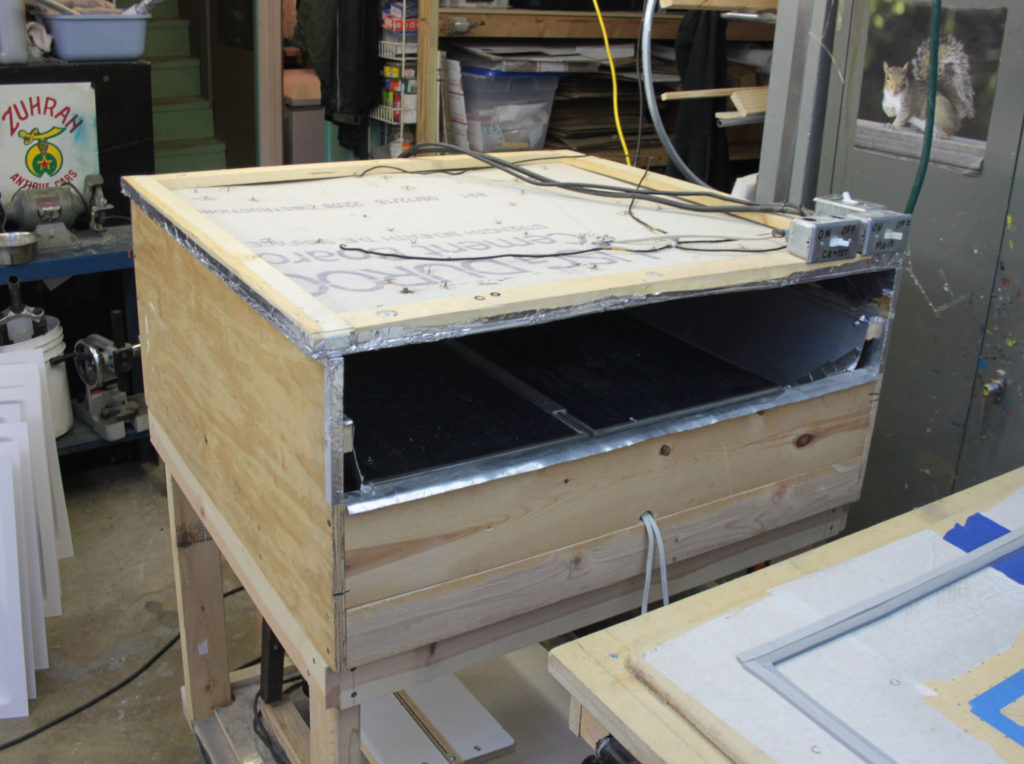
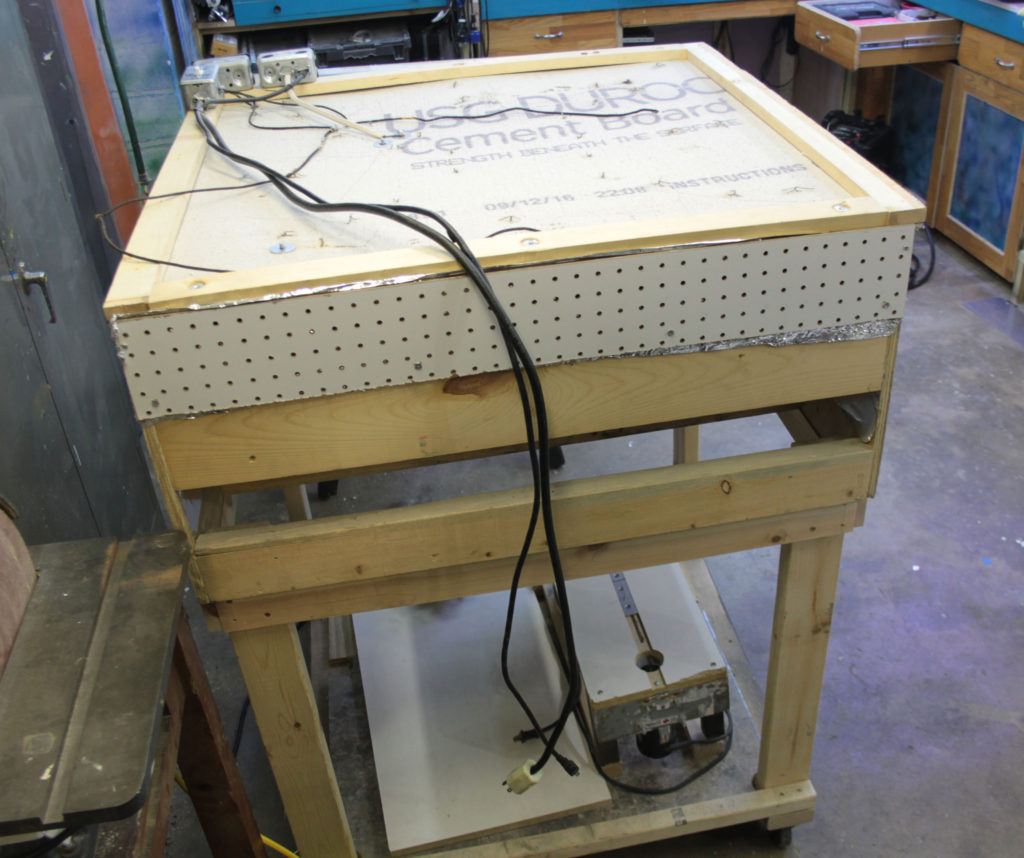
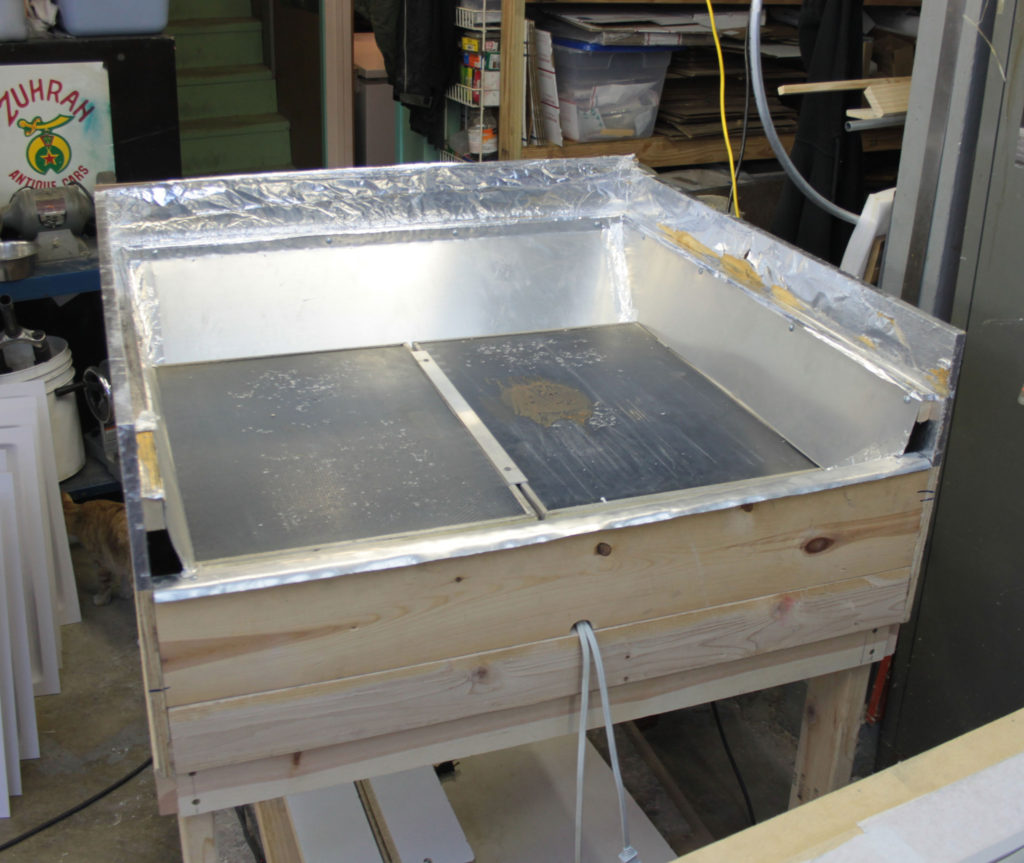
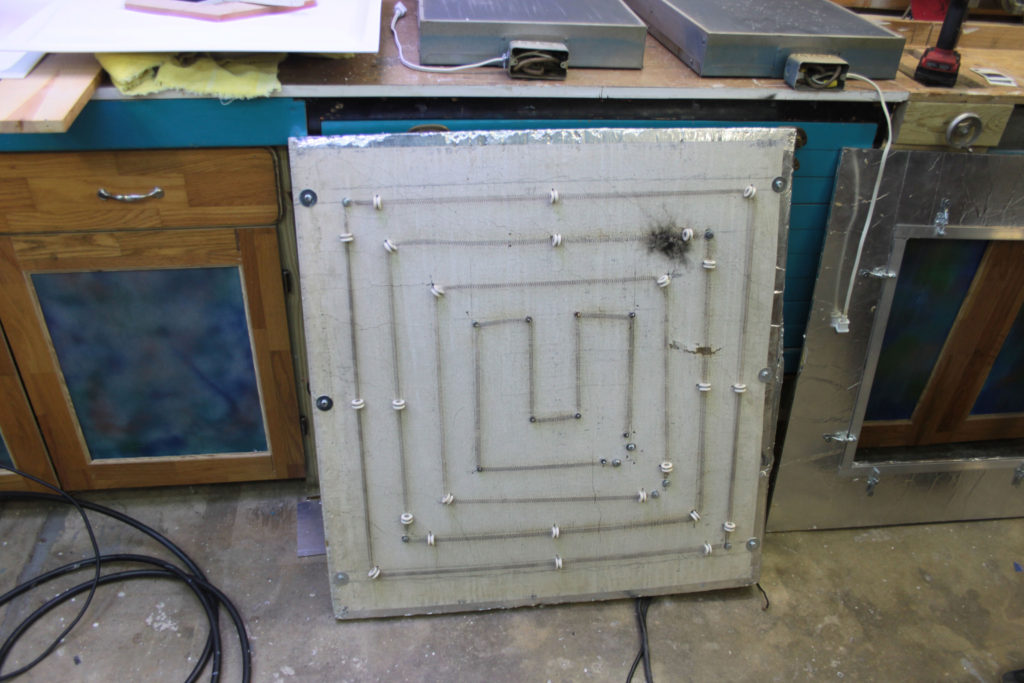
First iteration of a vacuum former with custom oven and vacuum table. It supports up to 36″ material, with a smaller workable area than that. Only ever ran 24″ 100mil high impact polystyrene(HIPS) through it. Heating time was about 2-3 minutes. No temperature control, was manually operated the switches to keep the heat in range.
Oven:
The oven was meant to be temporary and has since been disassembled. Was always operated with two people, PPEs, and ventilation. It drew nearly 50 amps at 120 volt. It was an incredibility dangerous contraption but served it’s purpose.
Door and some other elements are missing in the pictures, but were made from aluminum sheets.
Parts:
- Lumber for the cart and structure.
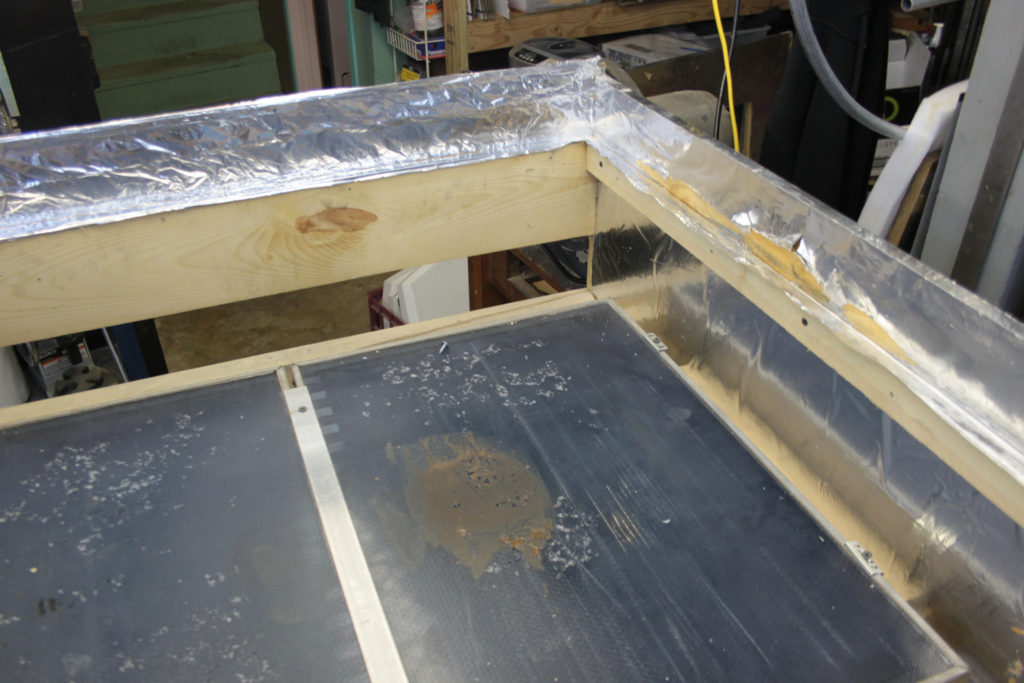
- Heavy duty tinfoil. Used to reflect heat back into the oven.
- 3M Spray adhesive. Used to attach the tinfoil to the plywood.
- 2x Ceramic Heaters – these were made in 1947 and were used for screen printing. Bottom heater in blue. These being covered in glass(pyrex) were handy when plastic was over-heated and melted onto them. Was easy to remove.
- 1x 20A and 2x 15A circuits and cords. One 15A circuit was always on, the 20A and other 15A had switches.
- Cement board – top heater was attached to this. Not a great choice, but was cheap, easy to work with and held up long enough. Had to be heat-proof, drillable, and non-conducting.
- Coiled nichrome wire
- Ceramic insulators – that the nicrhome coil fit through
- Bailing wire – attaches the ceramic heaters to the cement board.
- Aluminum duct tape
- Aluminum sheet 18 gauge. Used for the door and a few other reflecting elements.
Vacuum Table:
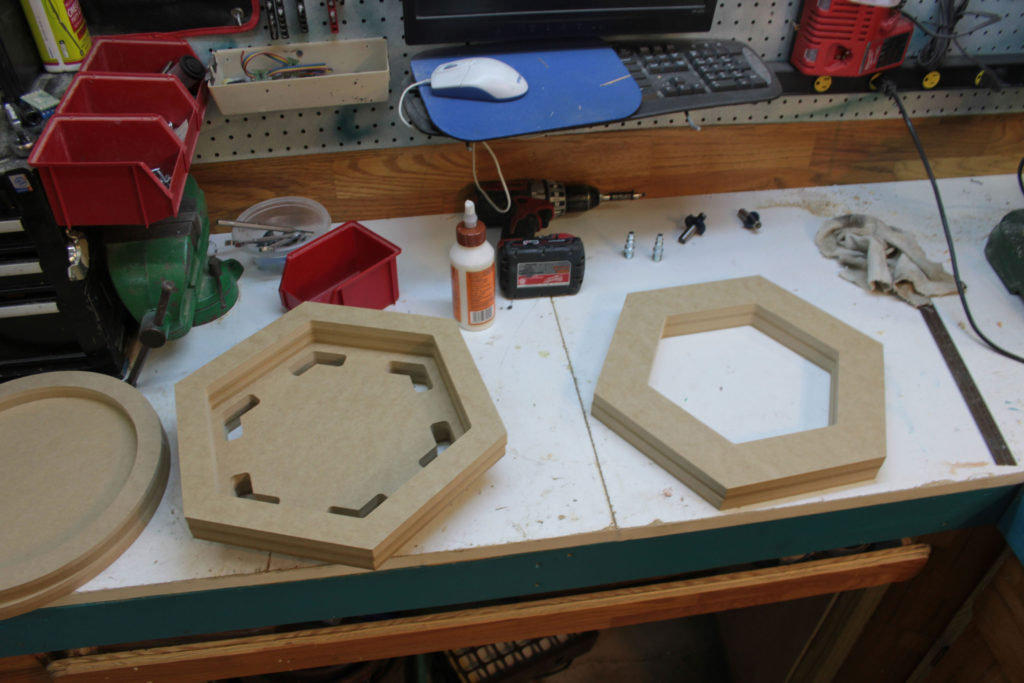
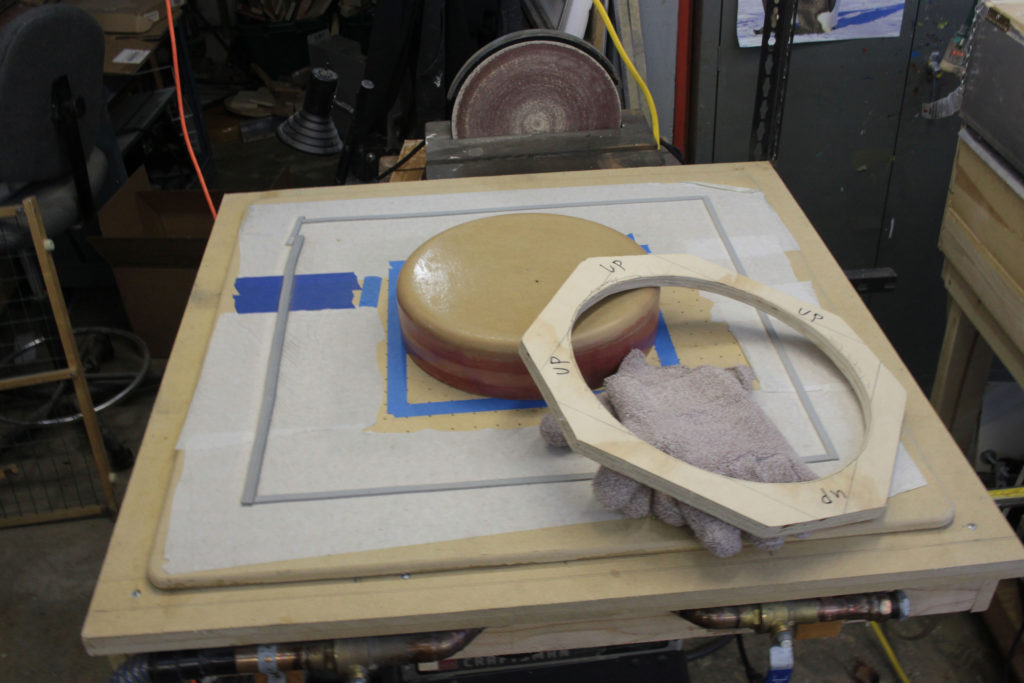
Simple one made out of high-density MDF, stacked 3 high. The bottom layer only has two holes for the valve piping. Middle layer is has the middle cut out to allow the air to flow between the piping and the surface. And the top layer is slightly smaller, and has 841 holes drilled in it. I then masked nearly 300 of them to increase air flow in the center area.
A high-volume vacuum was connected to one of the valve inputs. The other was connected to a stronger low-volume vacuum pump and reservoir.
Parts:
- 1/2″ MDF sheets
- 2x brass ball valves – soldered in – already had them, could have used PEX types.
- Copper pipe to mount the ball valves – also already had the copper pipe.
- Vacuum was a specialized high volume unit made for large photo tables. No make or model on it.
- Secondary low-volume vacuum and tank.
Tools(molds):
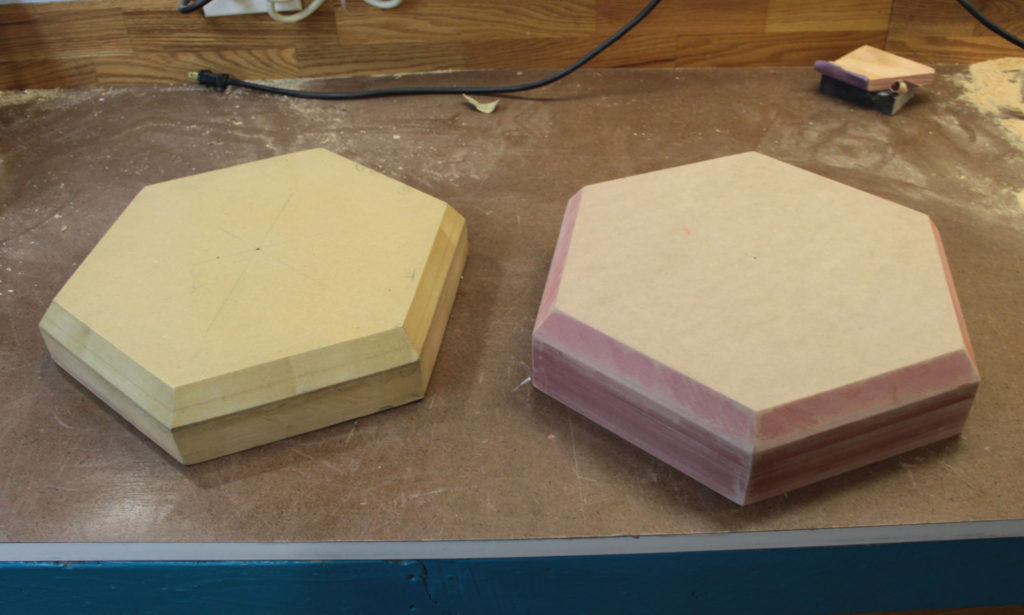
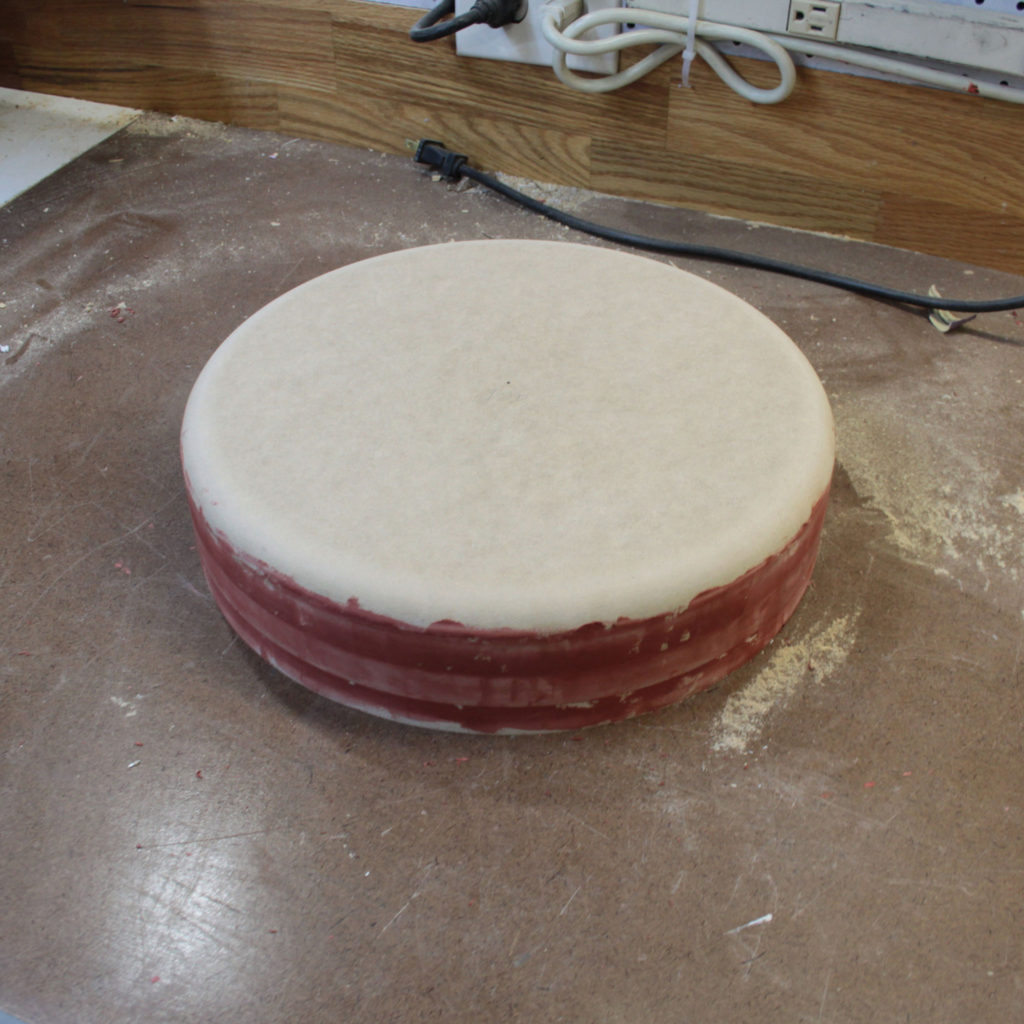
Made from high-density MDF that was CNC cut. Stacked up and glued together. Then skim coated with Bondo glazing, which is a thin fast drying Bondo brand product. Then sanded smooth and coated heavily in polyurethane.
Process:
- Heat up the oven.
- Put the stock into the oven card. Clamps down with toggle clamps.
- Slide card into the oven carefully. Notice the scorch marks on the top heater, which happened when the card touched the heater. A big reason the oven was scrapped.
- Connect vacuum to table.
- Spray the tool with non-petroleum lubricant, position it on vacuum table.
- Once the stock is sufficiently heated, remove from oven.
- Quickly line up the card with the vac table and press down.
- Soon as the card is down, release the vacuum.
- Wearing heat-resistant gloves, rub the stock onto the tool.
- Once cooled, connect tool’s NPT air fitting to a compressor, which forces the formed panel from the tool very easily.
- Trim off the excess from the panel. Set aside for later de-panelizing.
MORE TO BE ADDED
